

outershell.com/mega-instructions
BAR MOUNT
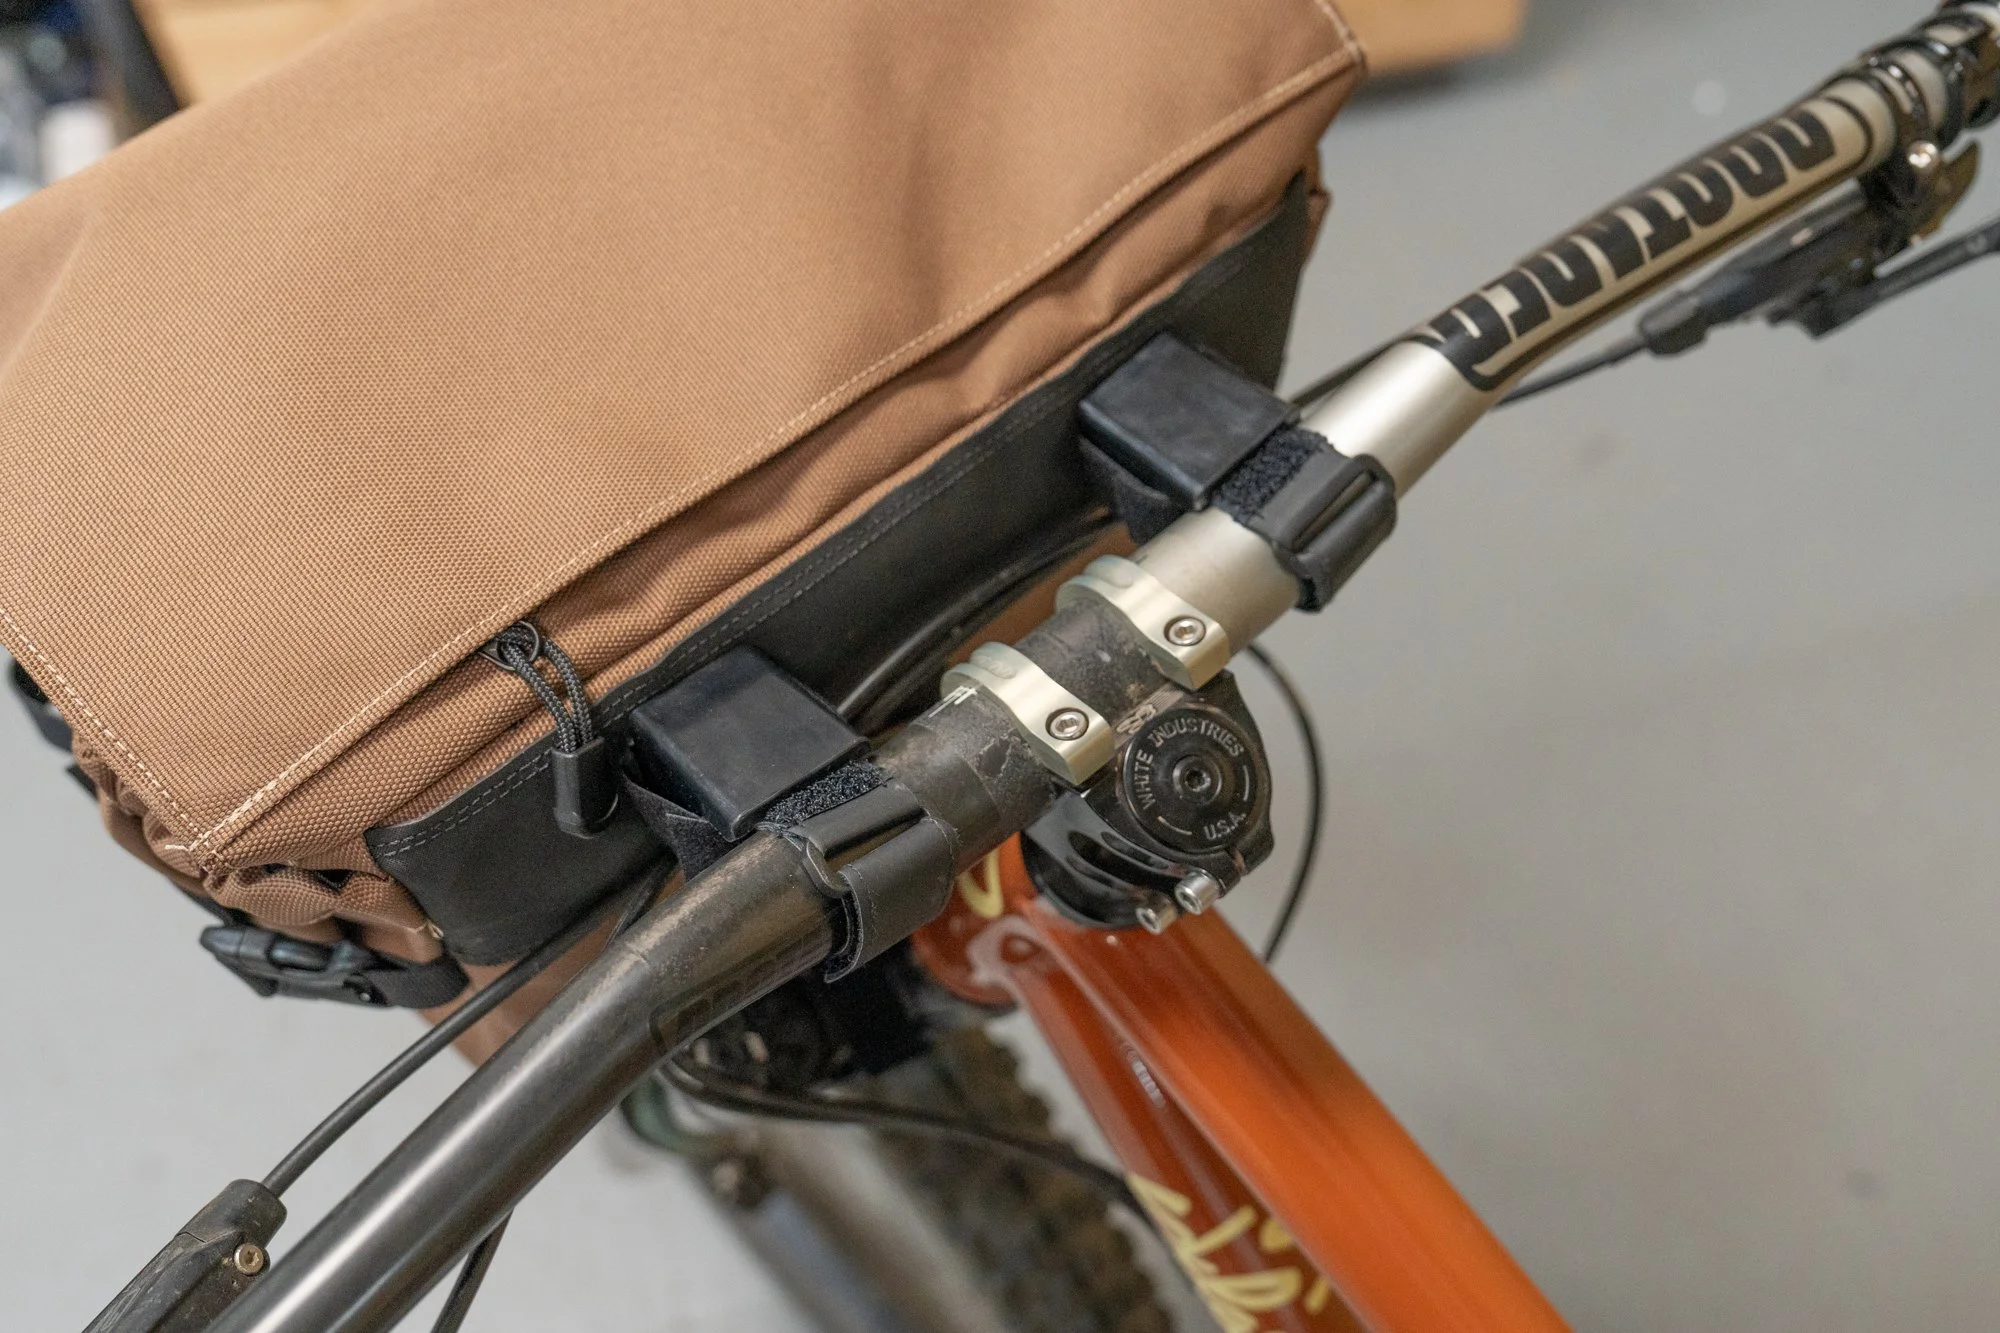
1. Strap to handlebars
Center the bag and double back velcro.

2. Strap to fork crown
Wrap velcro around fork crown. If the strap is too long, you can cut it down.

2.1 Loop and toggle headtube
If you can’t fit the velcro around your fork crown, use the elastic loop and toggle around your head tube.

3. Anti-sag strap
Leave one side clipped in, then run the strap OVER one side of the handlebar, UNDER the stem, and OVER the handlebar again. Then clip the other side. Lift the bag up till you get it to the angle you want. Then snug up both sides of the strap evenly. Just snug it up until it’s held into the right position. DO NOT OVERTIGHTEN. More information on page 5.
RACK MOUNT
1. Lace bottom strap (sold separately)
We recommend these rubber straps. The 15” length works well for small rando racks and the 22” length is for mid-sized racks.

2. Attach to rack platform
Tuck the strap tail back up into the bottom of the bag so it doesn’t fall in the wheel.

3. Loop and toggle tombstone
You can also use the velcro straps and move it up and down based on your rack.

4. Strap to handlebars
Center the bag and double back velcro.
SADDLE MOUNT

1. Remove handlebar assembly
Remove the spacer block by undoing the velcro, then turning it 45 degrees and pulling straight out. Slide the other straps out of the slots.
2. Lace saddle straps (sold separately)
Lace the rubber straps behind the metal frame and back out again.

3. Attach to saddle loops
Loosely attach both sides at first, then tighten down evenly to center the bag.

4. Loop and toggle seatpost
Use the elastic loop and toggle around the seatpost. Tuck away extra cord.
ADVANCED SETTING (AT YOUR OWN RISK)

Rack Strut Attachment
If you want a bit more stability without a front rack, there is an M6 slot through the front of the metal frame to attach rack struts to. It’s 4.75” wide.

Poke holes through front webbing
Bolt holes need to be made through the bag. The best tool to use is a hot soldering iron. Poke a hole all the way though the bag to the inside. The slot lines up with the front webbing strip. Now you can screw on rack struts or even a light!

Diving Board Attachment
A diving board is also a good option to keep the bag off your head tube. The bottom of the metal frame has an M5 slot. It’s 4.25” long.

Poke holes through bottom webbing
Bolt holes need to be made here as well. The best tool to use is a hot soldering iron. Poke a hole all the way though the bag to the inside. The slot lines up with the center webbing strip underneath the bag.
TIP: ANTI-SAG STRAP

Over bars, under stem
This addition strap will pick prevent the front of the bag from sagging into your tire. Leave one side clipped in, then run it OVER one side of the handlebar, UNDER the stem, and OVER the handlebar again. Then clip the other side.

Lift and tighten
Lift the bag up till you get it to the angle you want. Then snug up both sides of the strap evenly. Just snug it up until it’s held into the right position. DO NOT OVERTIGHTEN.

Mininum Tire Clearance
1.5” is the recommended minimum but if you’re on mostly smooth roads you might be able to get away with a little bit less. If you’re doing some extreme mountain biking, you’re going to need more.

Saddle Rail Attachment
For a saddle mounted bag, the anti-sag strap can still be used. Just lace it through your saddle rails.
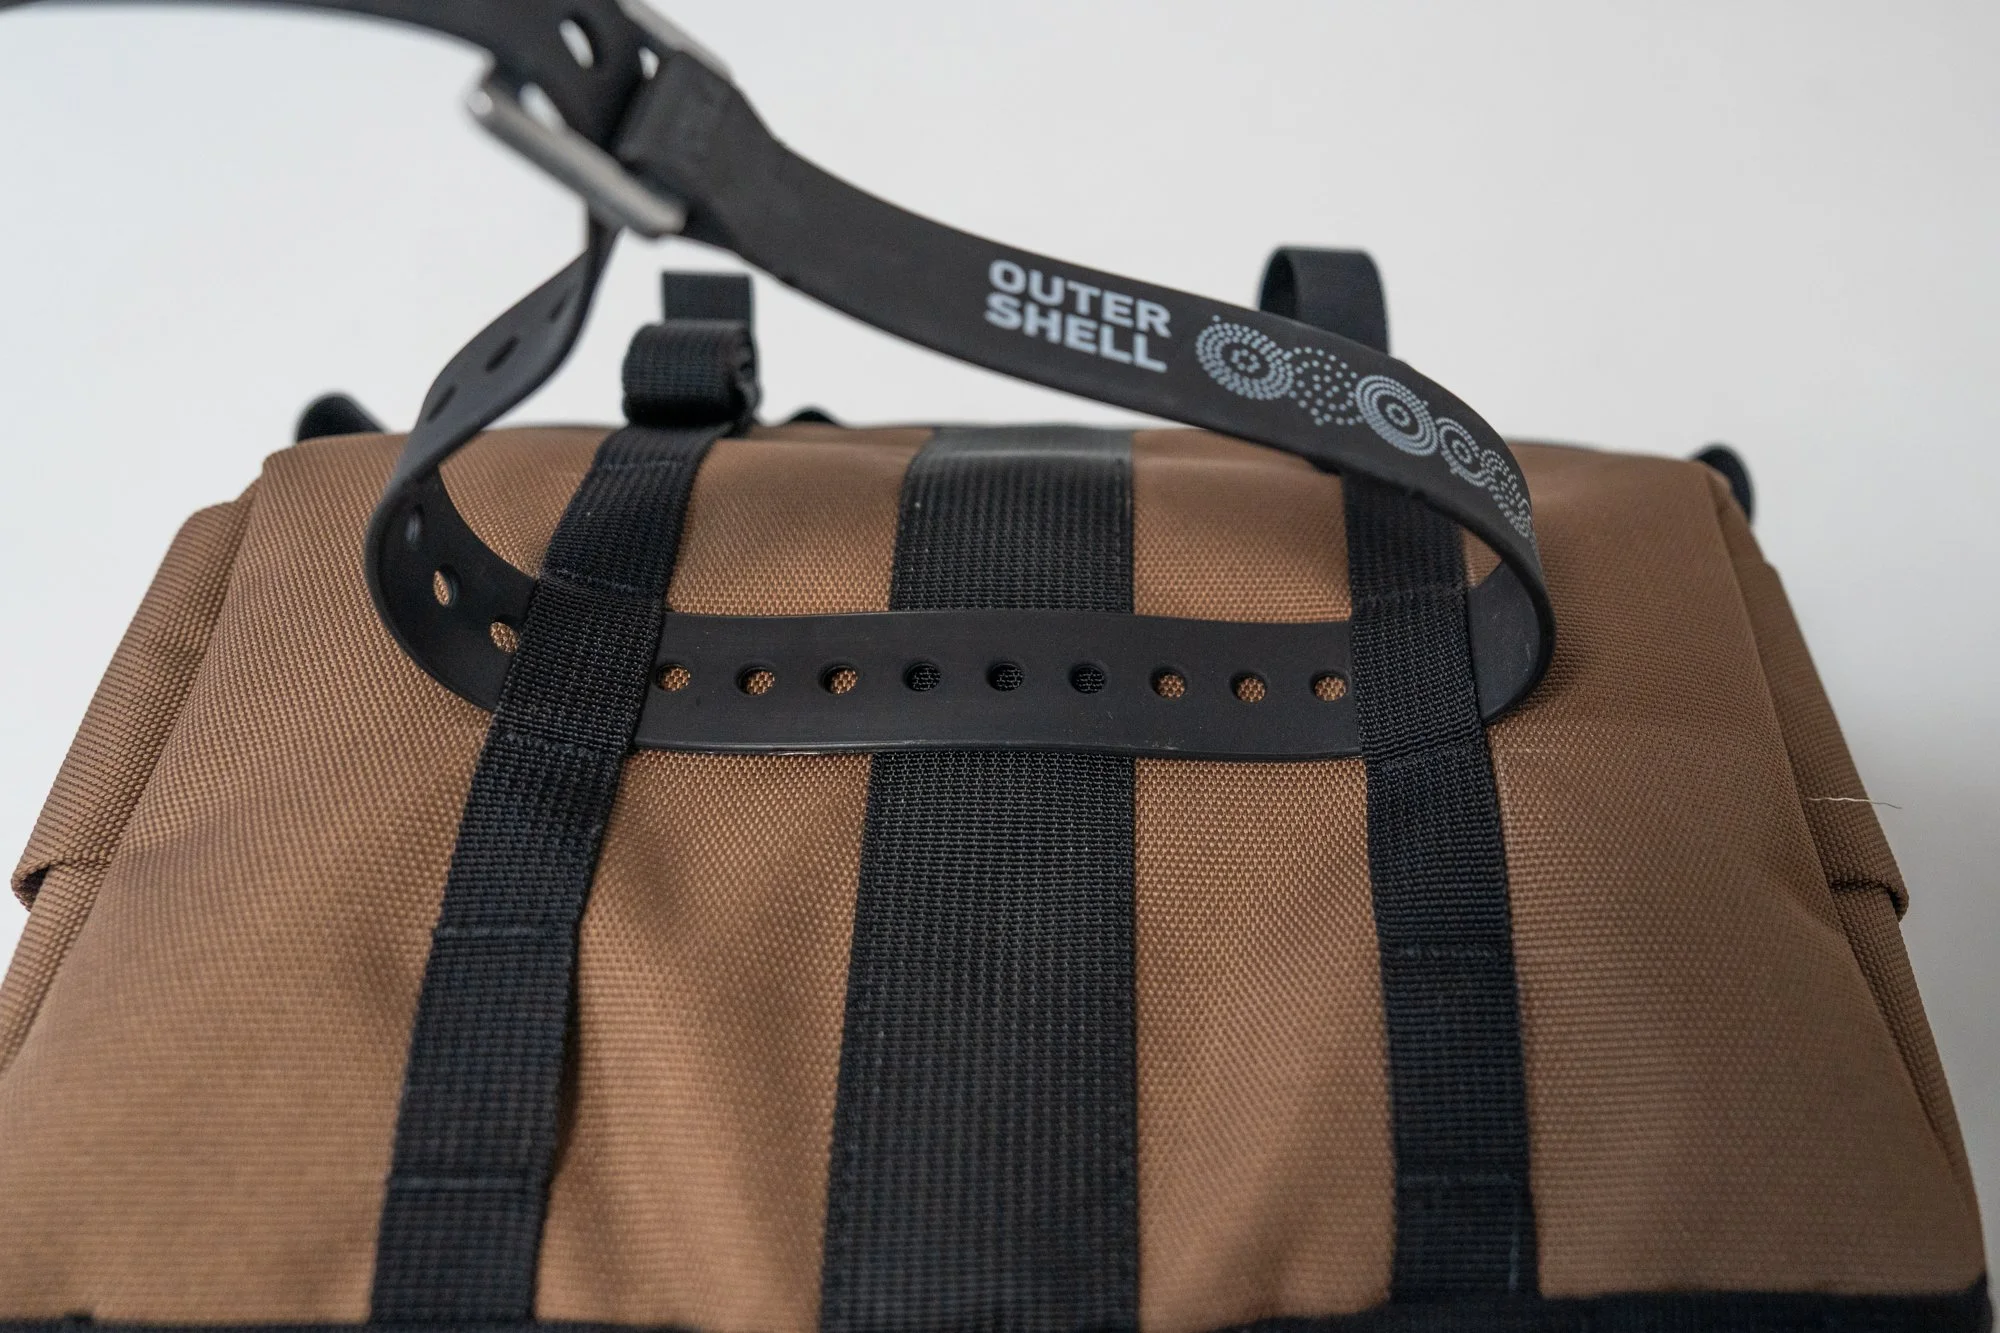
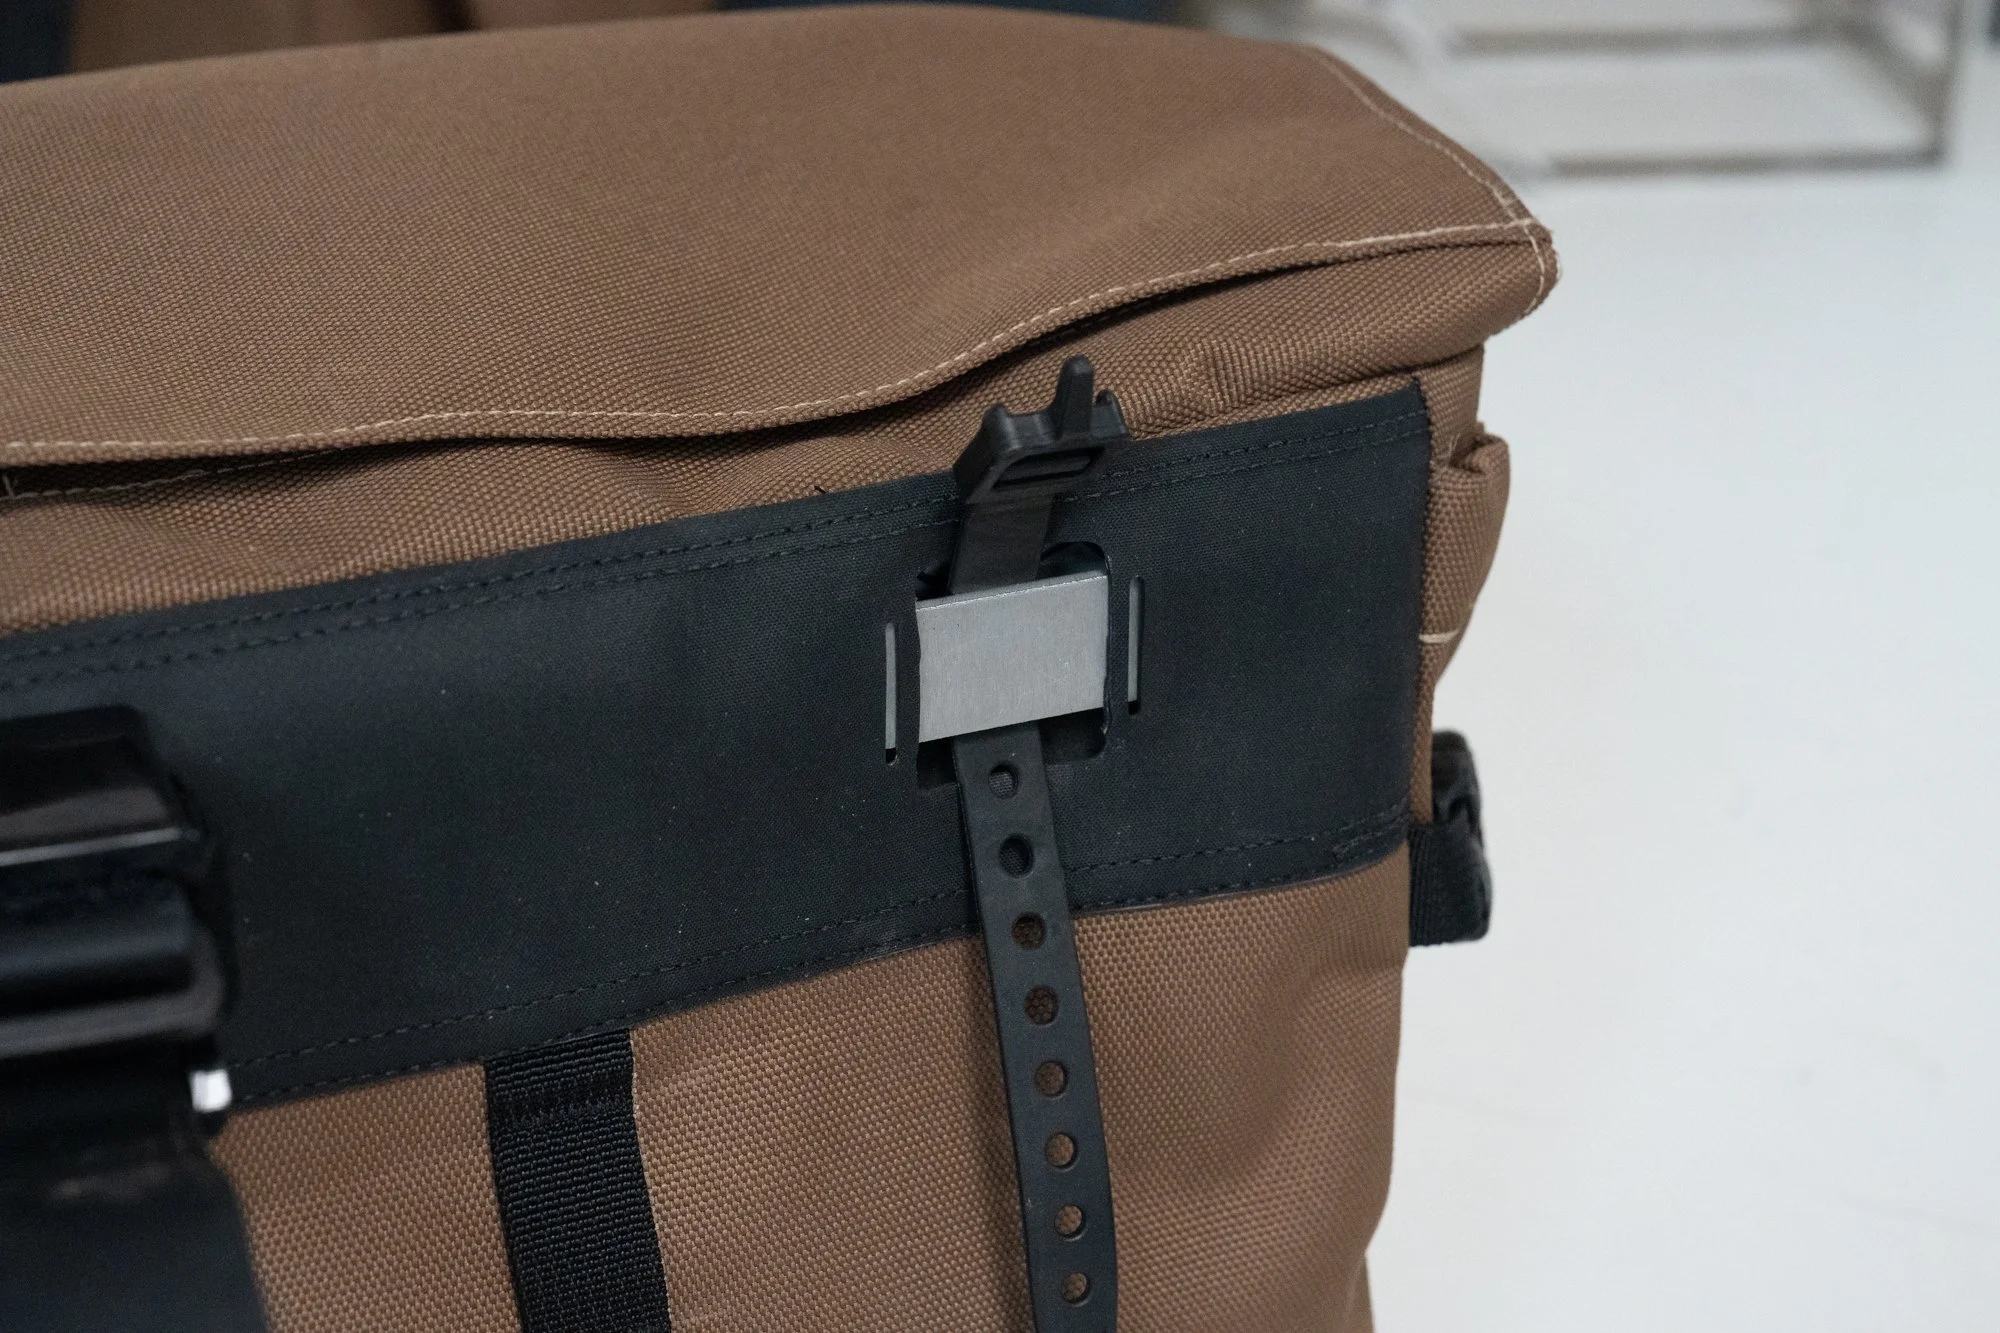
TIP: OVERSIZE ITEMS

Push buckle through slots
If you’re attaching large bulky items, push the buckles through the webbing slots as shown. This keeps the item high up on the front of the bag, instead of sliding down to the bottom and into your wheel.

Strap and tighten
The lid holds down large items like sleeping pads, skateboards, and whatever else you can throw at it!