
Pannier Hardware Info

All our panniers use an ultra-rugged attachment system made by Arkel. These things have sturdy aluminum rails and little brake pads that open and close onto the rack. Personally tested and approved in extreme conditions. Check out the description below!
Attachment System
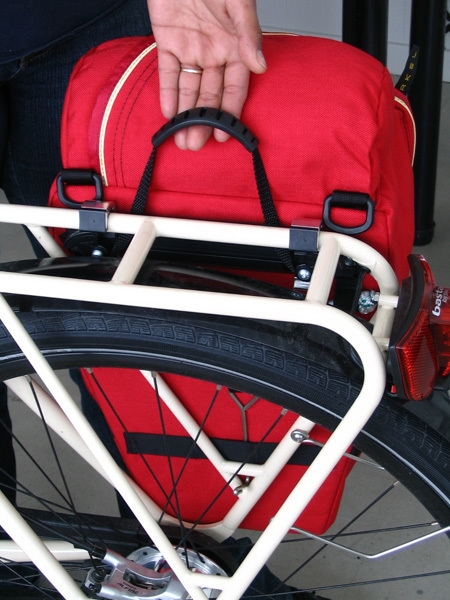
1. Hooking a pannier to your bike
- Engage the bottom wire-hook of the pannier to any part of the rear rack near the wheel axle.
- Lift the carry handle to open the cams and hook the pannier on your rack. When releasing the handle, the cams will lock onto your rack.
- Make sure the hooks are well seated and that the cams firmly close underneath the tubing

2. Adjusting the hooks
It is possible to adjust the hooks to custom fit your rack. You may want to do so to give more heel clearance for the panniers when you pedal, or to match the spacing of the struts on your rack. It's simple to do and the customization is infinite!
- Using a 3 mm Allen key, loosen the set screw at the base of the aluminum hook.
- Slide the hook to the desired position (it can sometimes be done directly on the rack).
- Re-tighten the set screw. Voilà !!


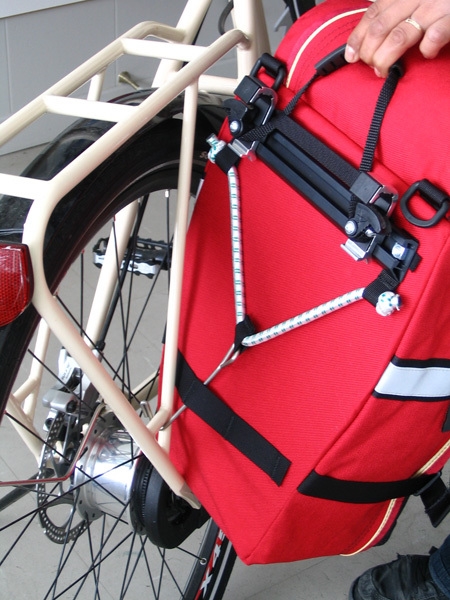
3. Adjusting the bungee
You may need to tighten the bungee cord to accommodate your rack. A tight bungee reduces rattling during bumpy conditions.
- Pull the bungee on one side until the desired tension is achieved.
- Tie an overhand knot where the bungee meets the nylon webbing loop.
- Test the pannier on your bike and retie the knot if necessary.
- To remove excess bungee, cut with scissors and use a hot knife or soldering iron to cauterize the raw end.