Handlebar Harness

Handlebar Harness

$60.00

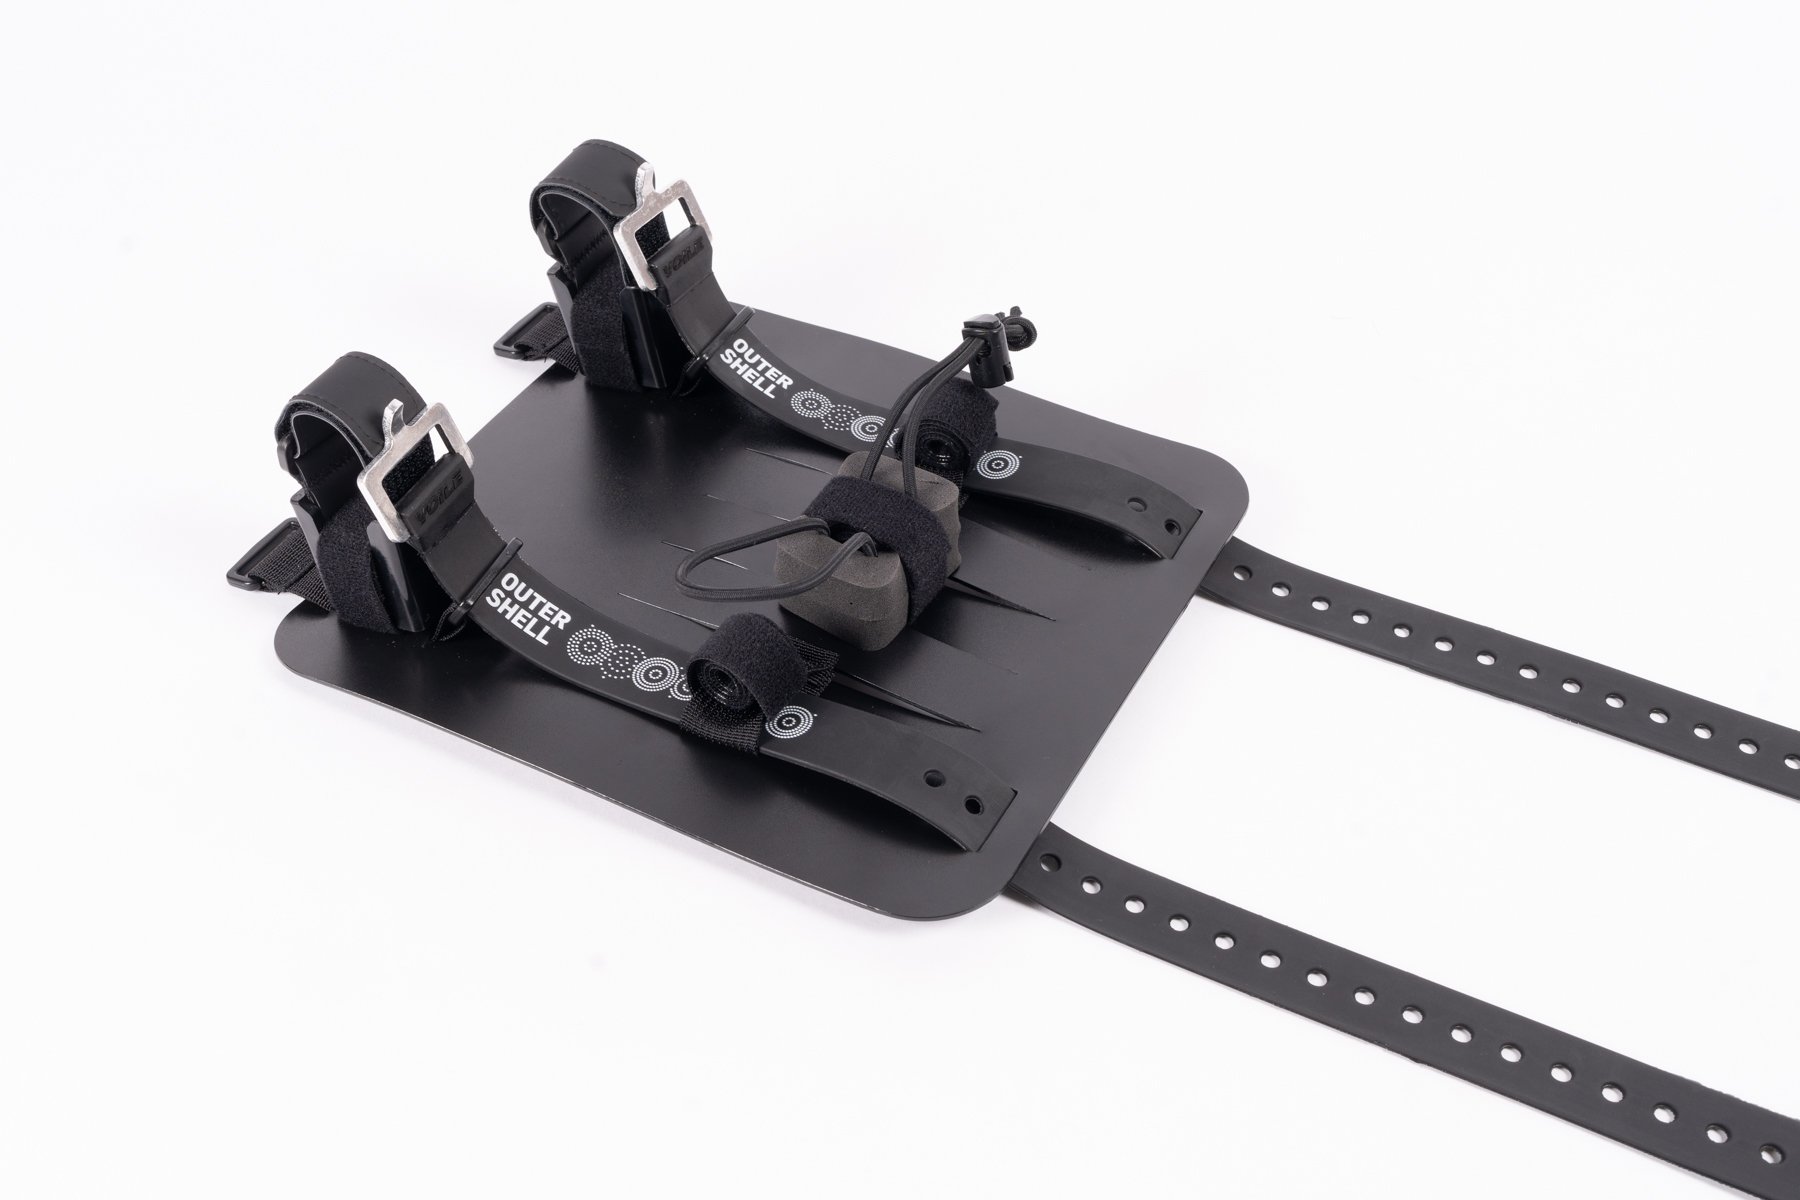
Simple: reimagined. Strapping a bag to your handlebars is how we all got started. It’s bike packing in its purist and simplest form. We didn’t want to lose that essence, just make it better. What you're buying with this product is:

  • Spacers for hand positions and brake levers

  • A few velcro straps

  • Two 32” XL rubber voile straps

  • and a plastic shield

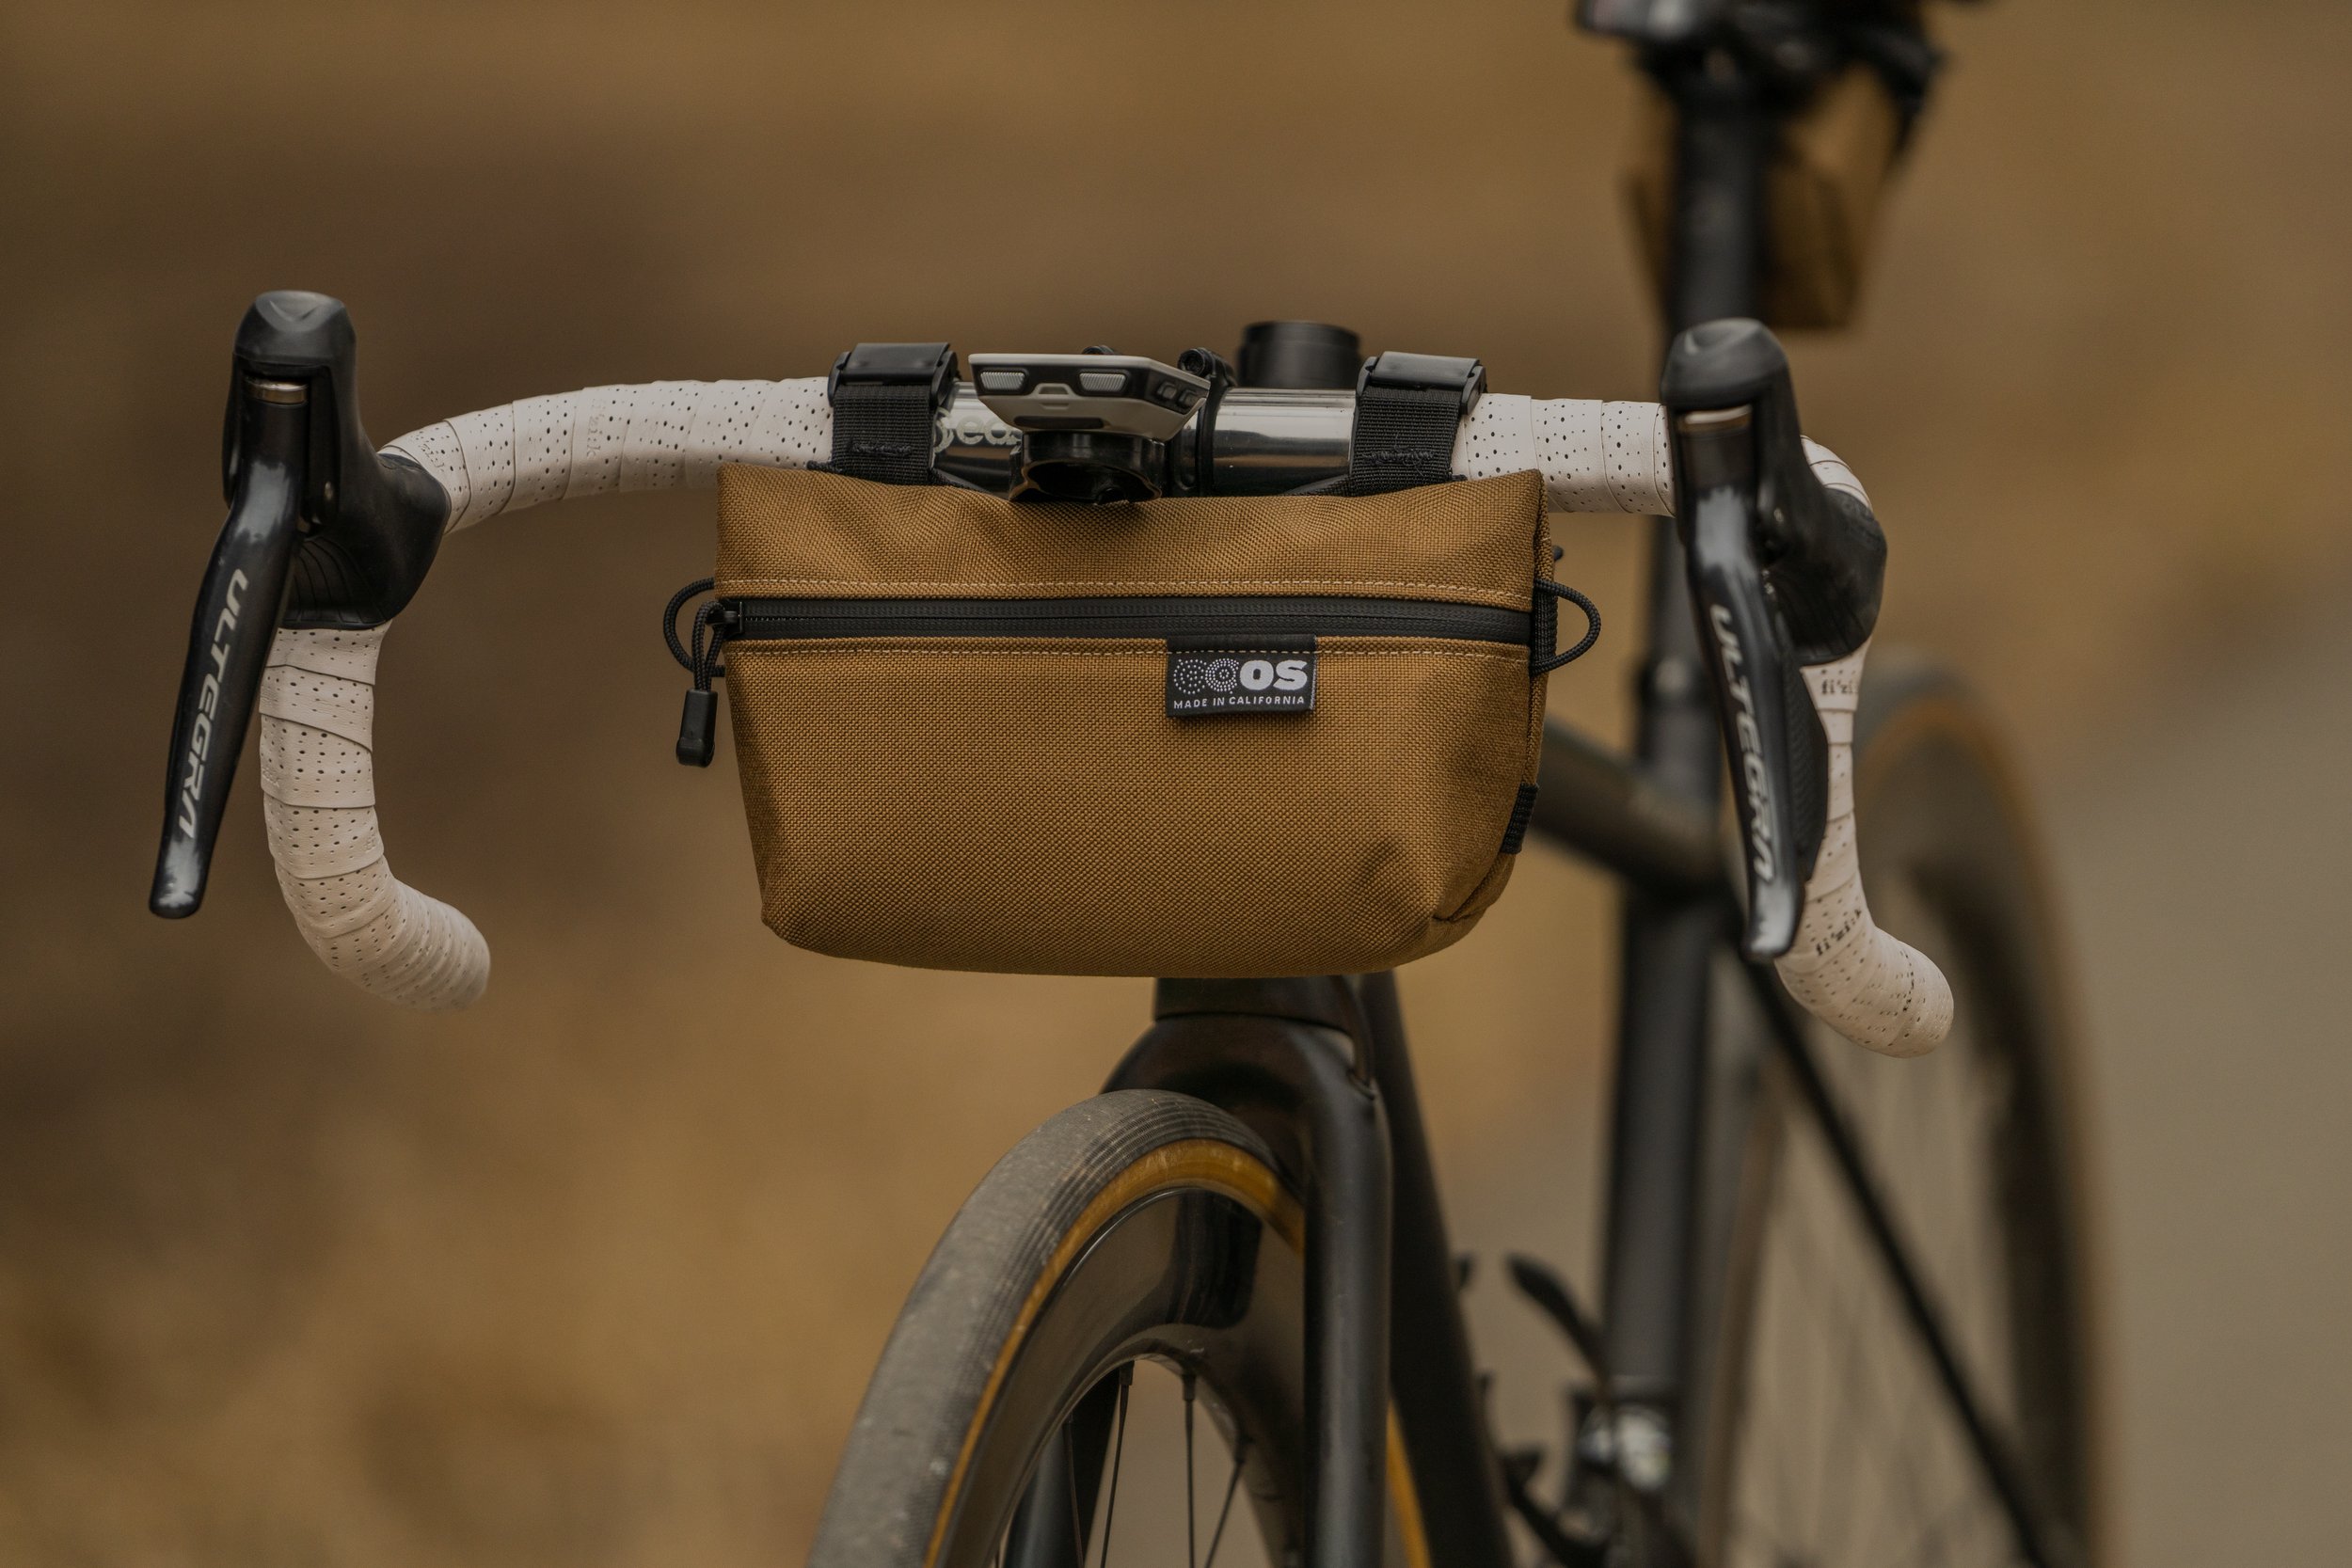
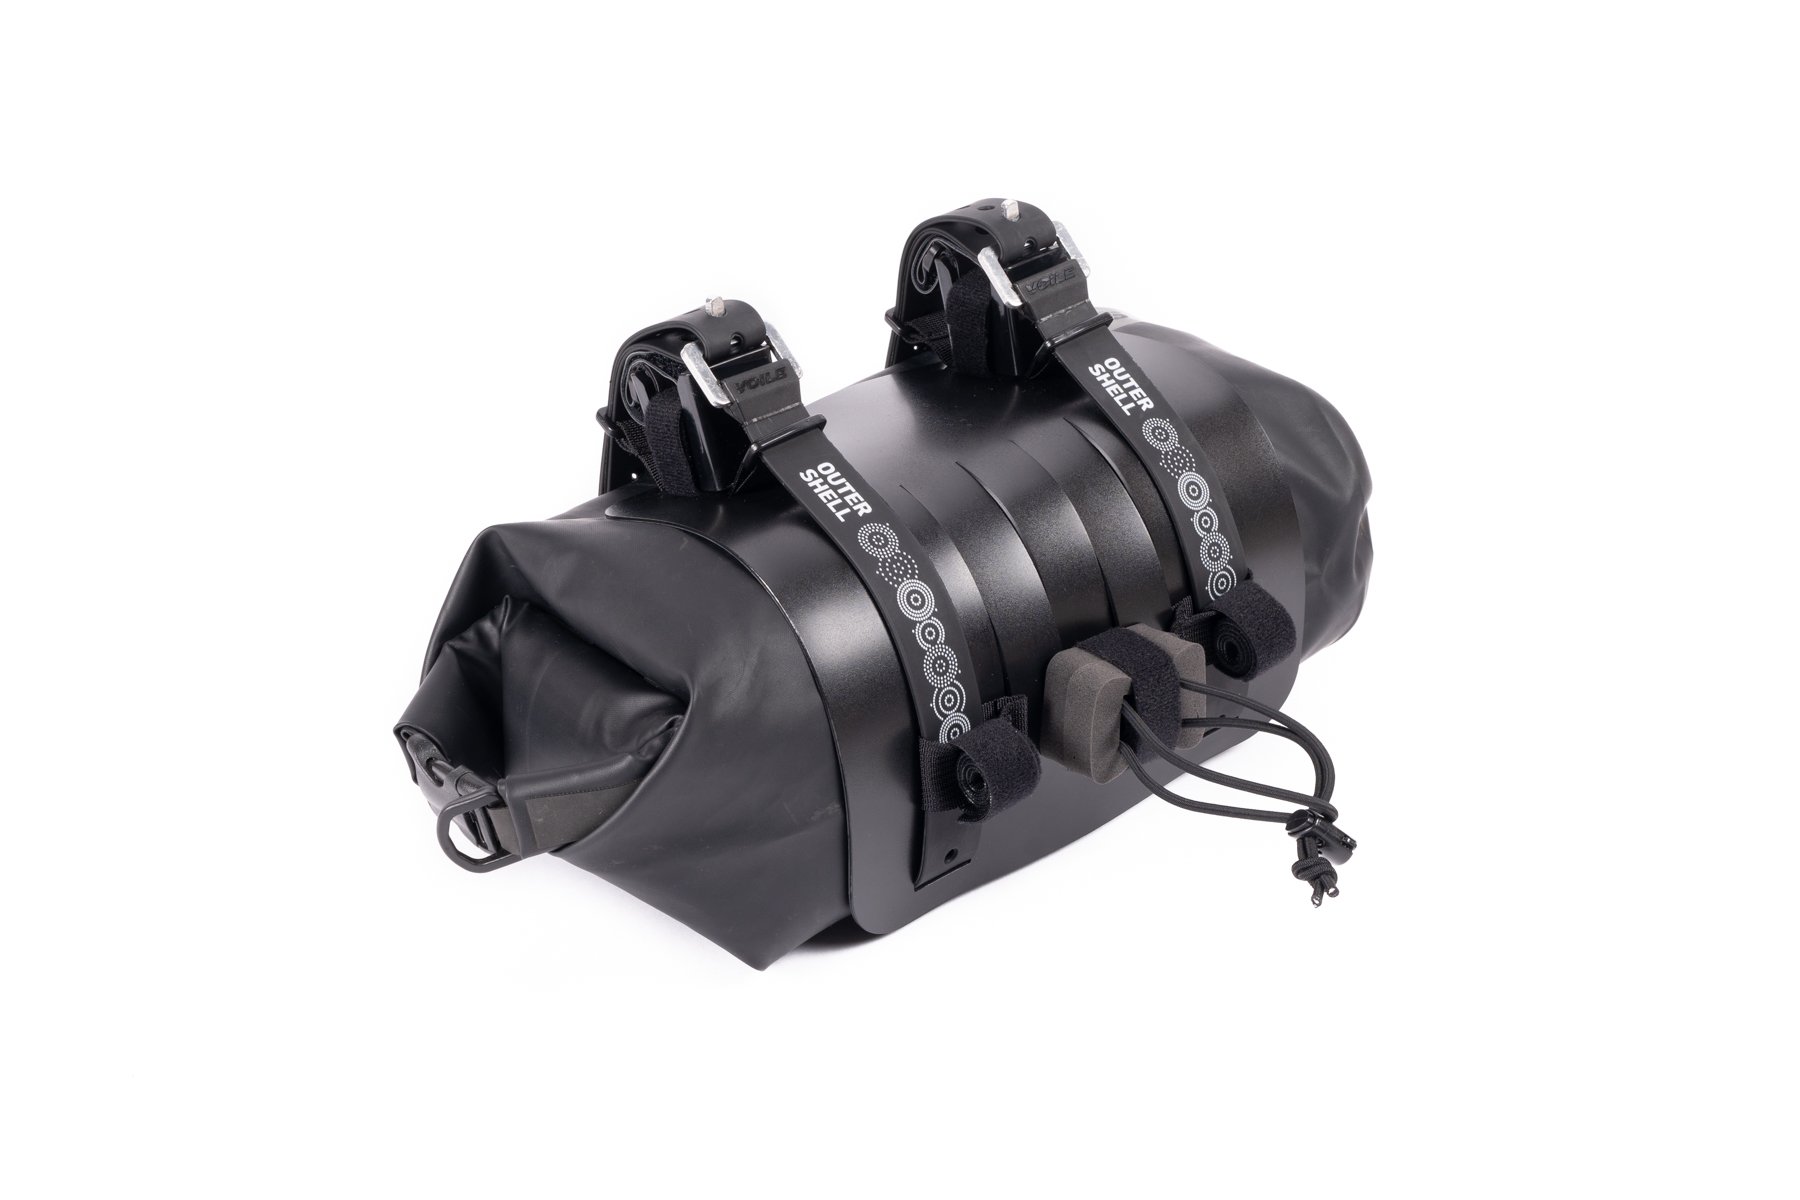
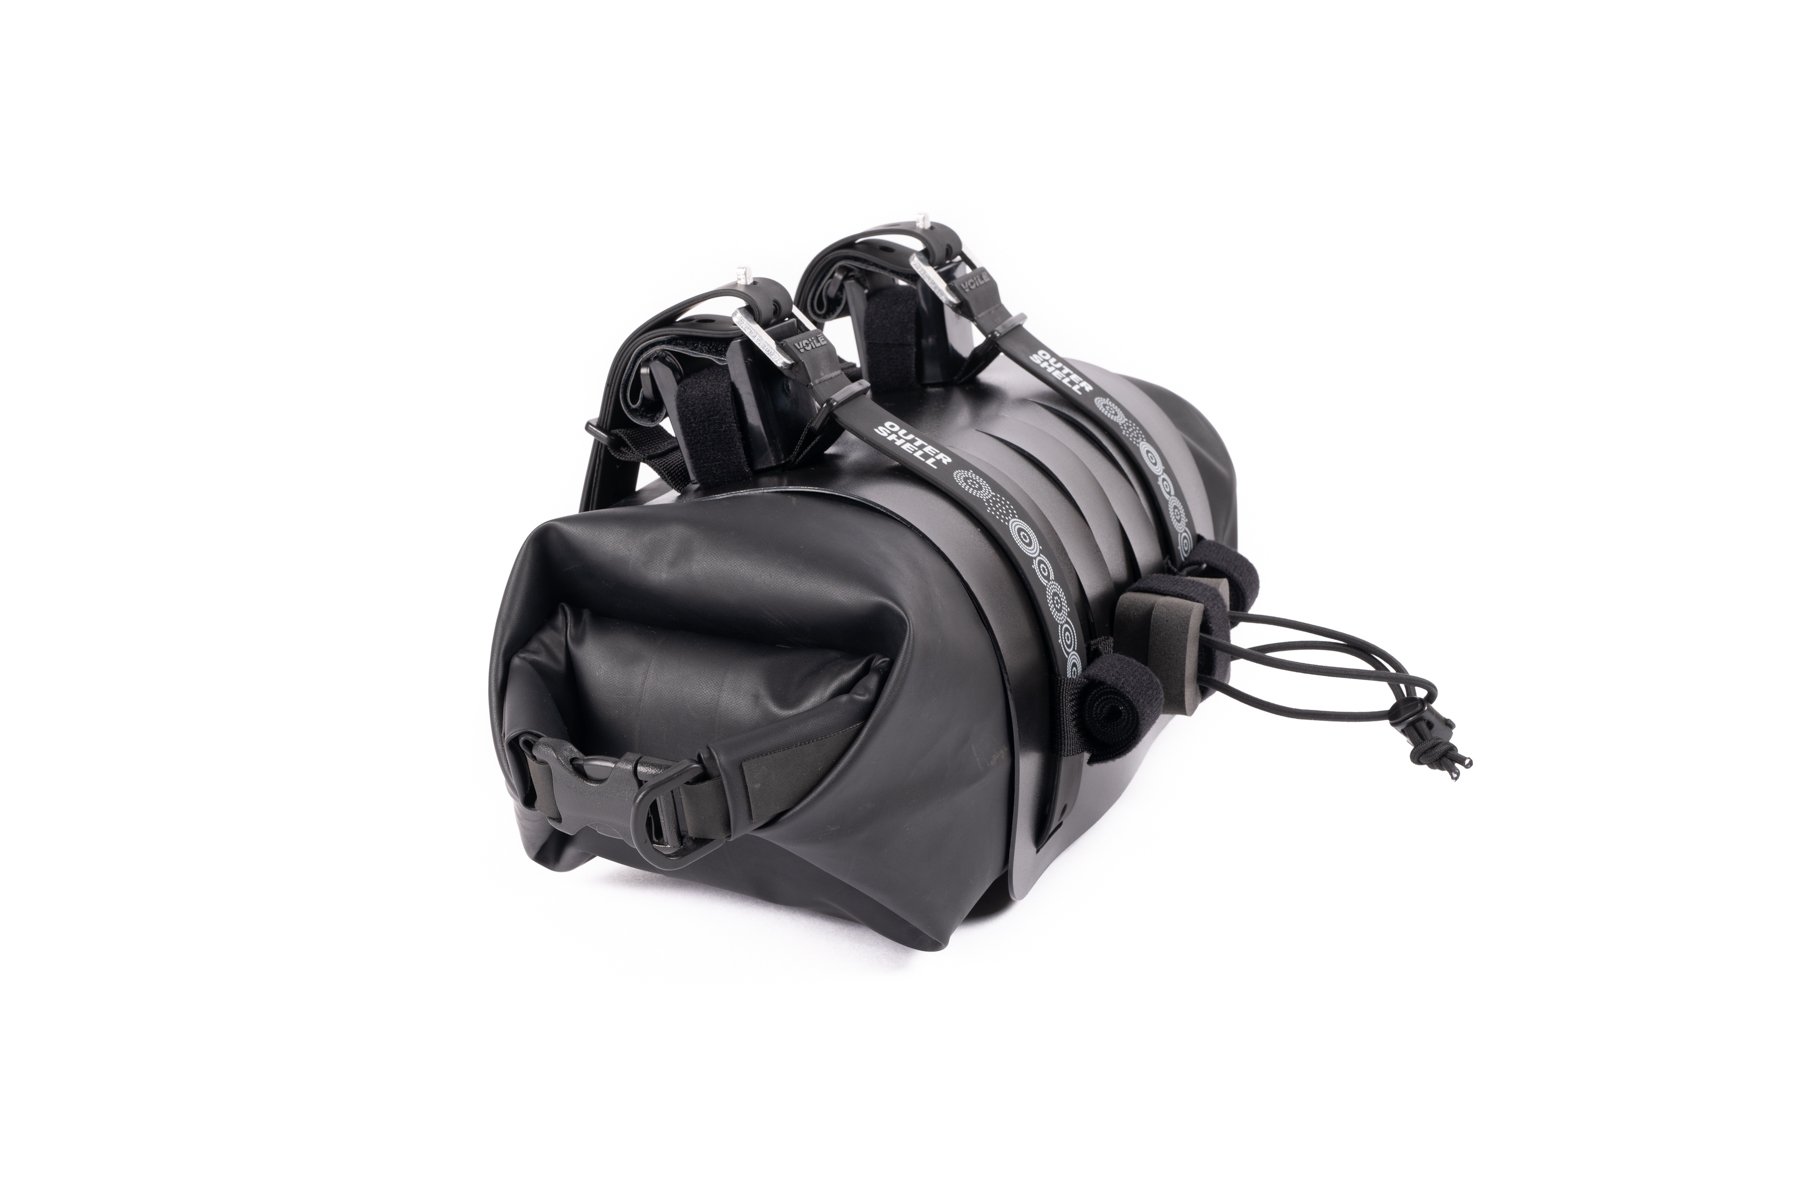
Its all organized in a neat and ultra-functional package. It’s also thoroughly tested for a bomber, bounce-free attachment on any terrain. This harness can be used as a stand alone unit or with the Drawcord Handlebar Bag up front. Fits most cylindrical objects, four to nine inches in diameter. Pair it with an oval shaped Dry Bag (sold separately) or use your own stuff sack.

Made in the USA 🇺🇸

Color:
Quantity:
Add To Cart

 Standard Features

  • Fits any cylinder-like object 4" to 9" in diameter

  • Fits virtually any bike (using Foam Spacers to prevent interference with brakes, brake levers, and cables)

    • (8) Foam Spacers included (*additional spacers sold separately, more info here)

  • Bounce free lower velcro attachments to fork crown or headtube

  • (2) 32” Logo Voile Straps included

  • Durable plastic body

  • HANDMADE IN CALIFORNIA


Complete The Kit:


How-To

Stand Alone

  1. Position harness on handlebars using the nylon straps and cam-lock buckles. This is just to hold the harness in place while you take your bag on and off.

  2. Attach lower velcro straps around each side of your fork crown. If your fork crown is too small or it interferes with your brake, attach the elastic cord around your head tube, instead of using the velcro straps. You can also use both - the velcro straps and the elastic cord.

  3. Strap your bag to the harness using the rubber Voilé straps. Lace the rubber Voilé straps through the plastic loop, then the metal buckle. They will go over the nylon straps and cam-lock buckles.

With Drawcord Handlebar Bag

  1. Remove the handlebar straps from the handlebar bag. Tuck the little webbing tabs under the slot to get them out. Set them aside or inside the bag so you don't loose them.

  2. Slide the rubber voile straps through the lower and upper slots on the handlebar bag.

  3. Figure out what position you want the handlebar bag, based on the stuff sack your using.

  4. Wrap the elastic cord on the handlebar bag around the two rubber voile straps. This extra step locks in the handlebar bag position so it can't slide up and down.

  5. Secure the stuff-sack or dry bag with the Voilé straps as you would without a handlebar bag.

  6. (Optional) You can tuck any excess Voilé strap into one of the unused handlebar bag strap locations to keep things tidy.